uniFlow is a smart client for secure cloud printing. If your device has not installed the app, please install it depends on your device OS.
To do this: Open Company Portal on your computer them in the apps section, find uniflow and click install.
Windows Installer
MacOS Installer
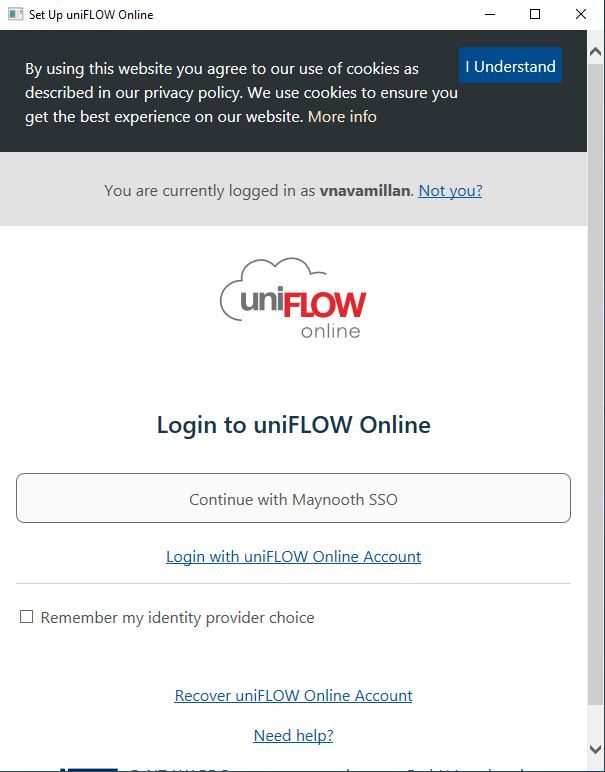
- After app installation, Click on “Continue with Maynooth SSO”
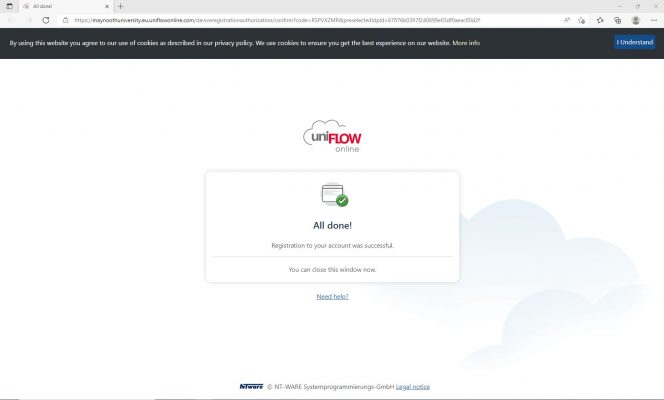
- A browser page will open to continue the process and Close the web browser when “All Done!”
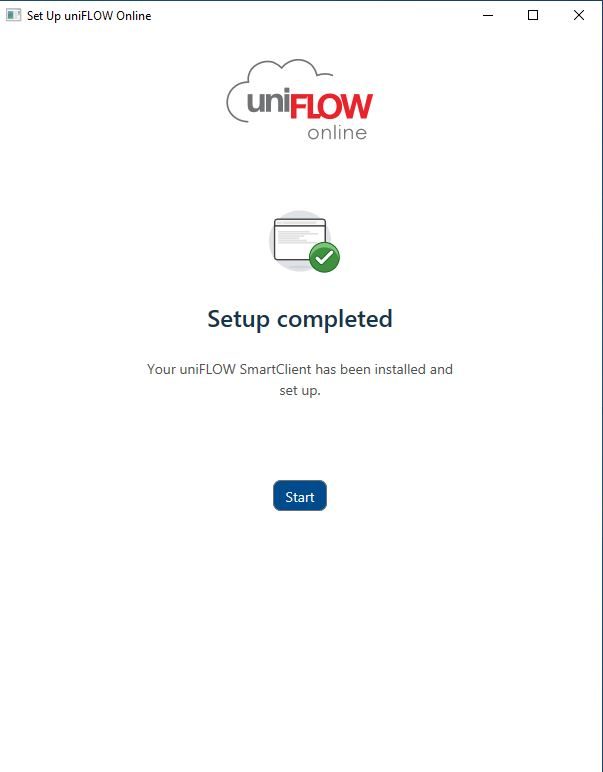
- Click on start to finish the setup.
You will receive two emails with your card registration code and your PIN code.
1.
uniFLOW Online PIN Code – This will allow access to the devices in the event you forget / misplace your Card / ID.
2.
uniFLOW Online Card Registration Code – This is used to connect your ID card with your account.
To login to the printer you need to swipe your Card / ID or use your PIN code. You will need to register your Card / ID first before you can use this.
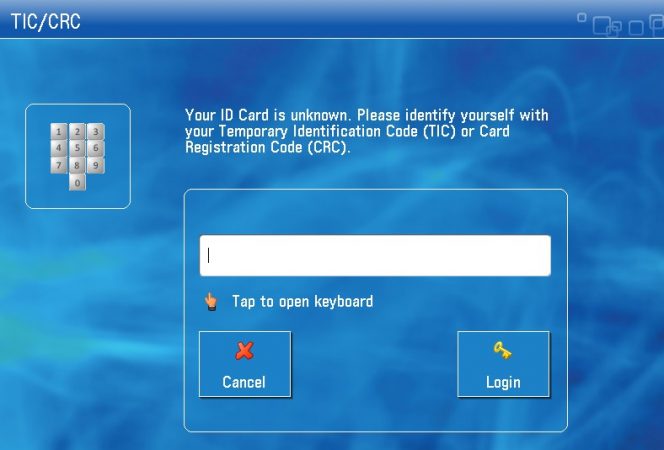
- Go to any Canon Uniflow printer and swipe your Card / ID. If it is not registered, you will get the message below that “Your ID Card is unknown”.
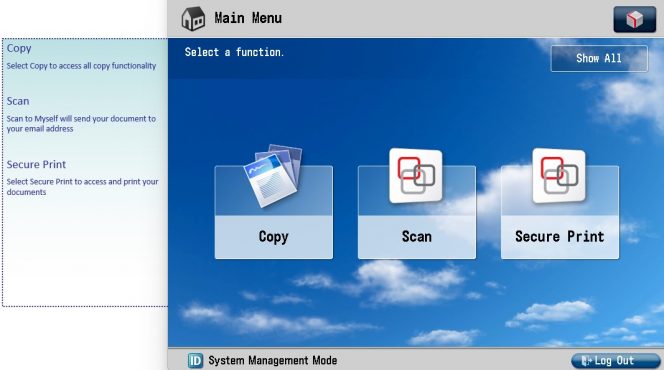
- Type in your Card Registration code, tap the Login button and your Card / ID will then be registered. This will bring you to the Uniflow Online Home screen, see below.
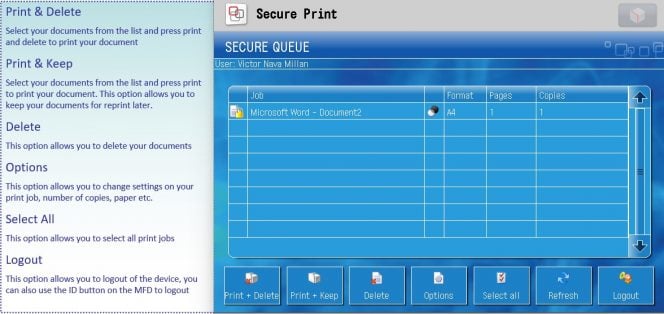
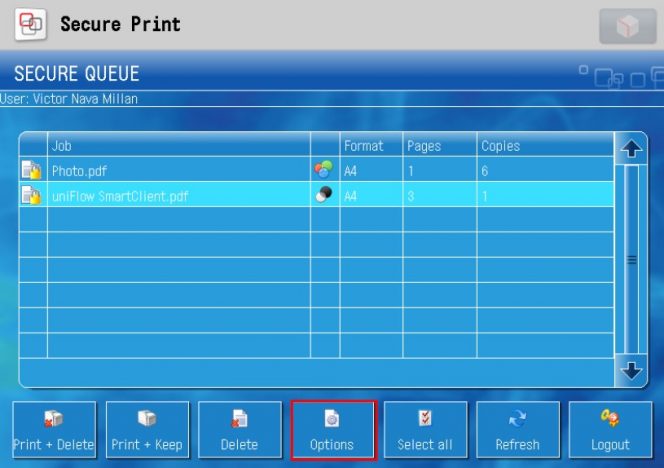
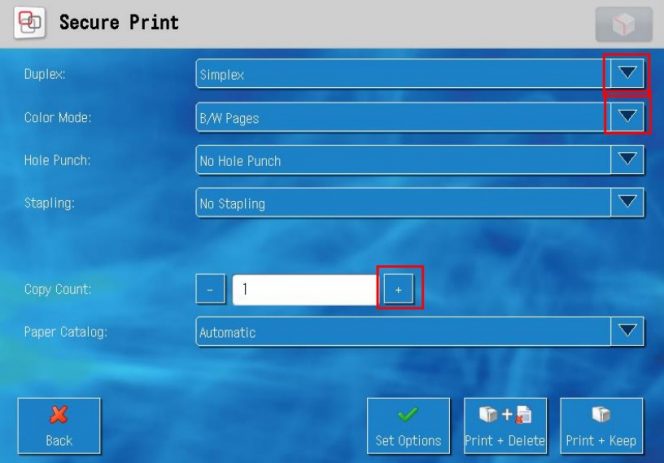
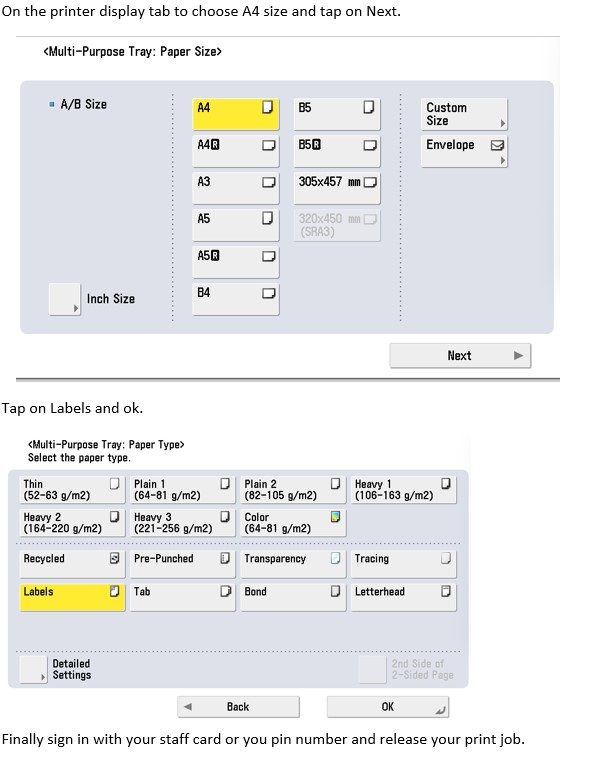
Options. - This allows you to change settings on your print job, number of copies, paper, duplex/simplex, etc.
- Select your documents from the list and press “Options”.
- Then select your preferences, Example: Simplex to Duplex, BW to Color and number of copies.
- It will return to the jobs list with the chosen options changed. Select your documents from the list and press print and delete to print your document.
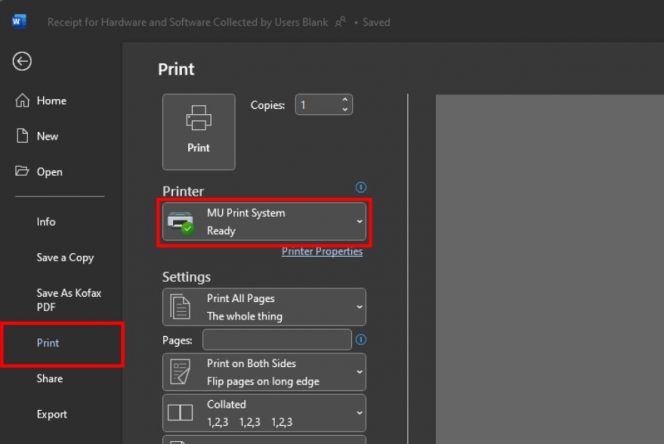
MU Print System Properties - Printer Properties allows you to modify your preferences.
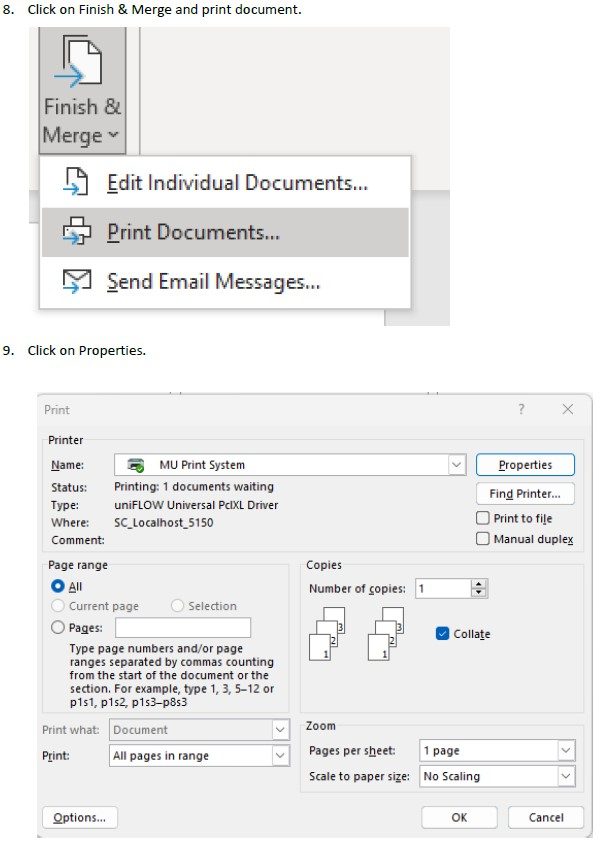
- Click on file and print. Then choose MU Print System.
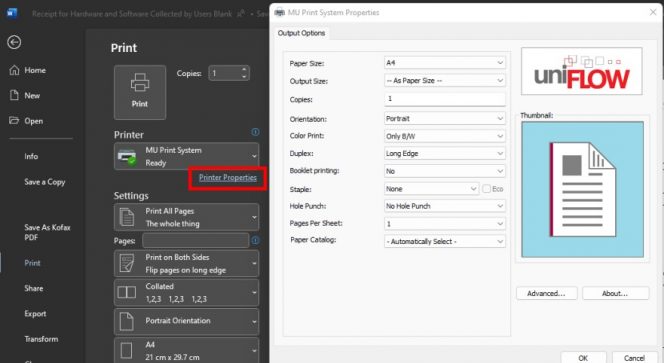
- Click on Printer properties.
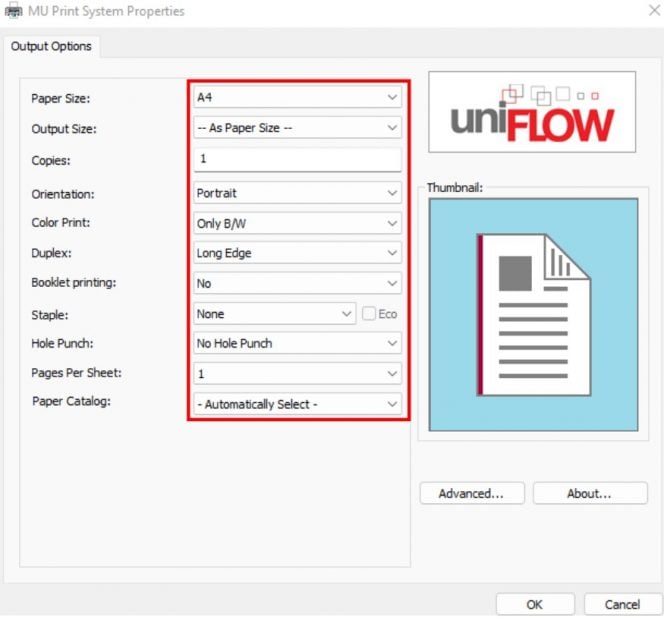
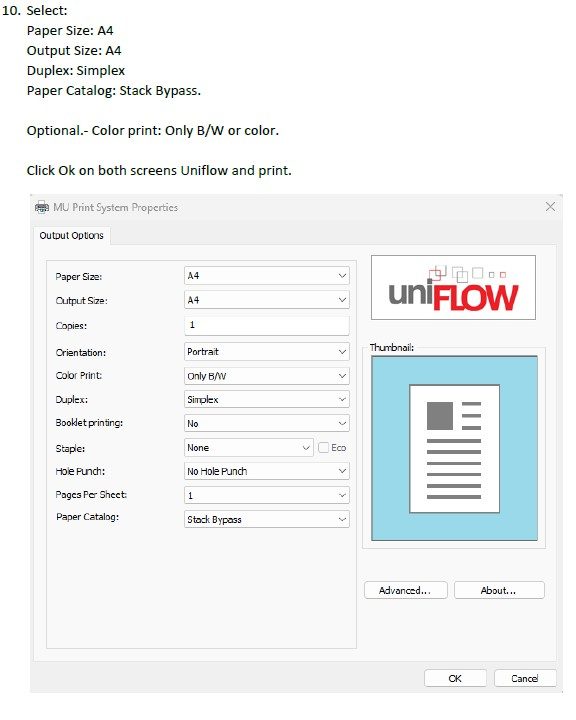
- You can change: Orientation: Portrait, Landscape Color Print: B/W, Color Duplex: Long Edge, Simplex And more.
- Choose your settings, click “OK” and finally hit print.
This option is available for all staff, and non-MU devices or occasional staff.
-
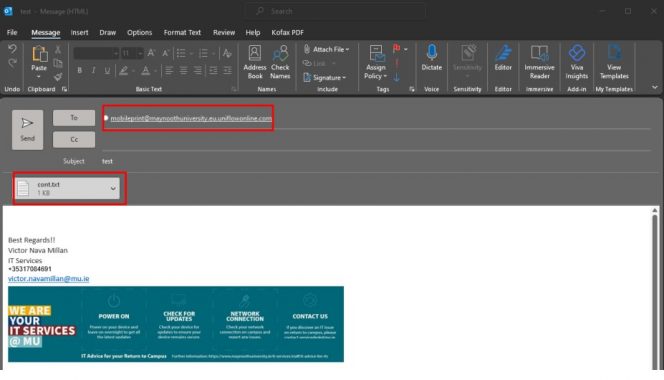
Send the email with the attachments you want to print to this address. [email protected]
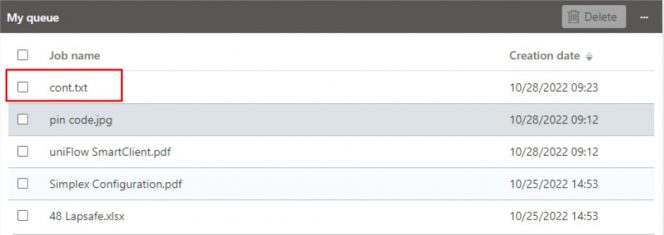
- The system will add your attachment to your print queue, this may take up to 3 minutes to appear.
- Finally, release your print job using your staff card or PIN, from your chosen MU Print System printer.
Note: The body of the email will not print only the attachments.
This option is available for all staff, non-MU devices and occasional staff.
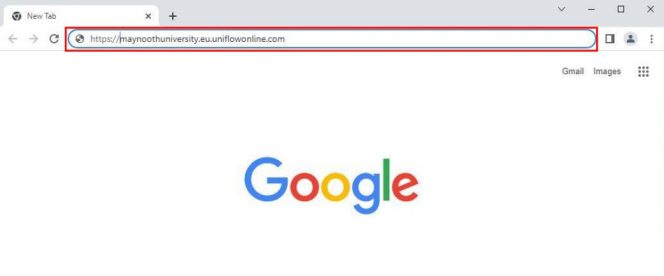
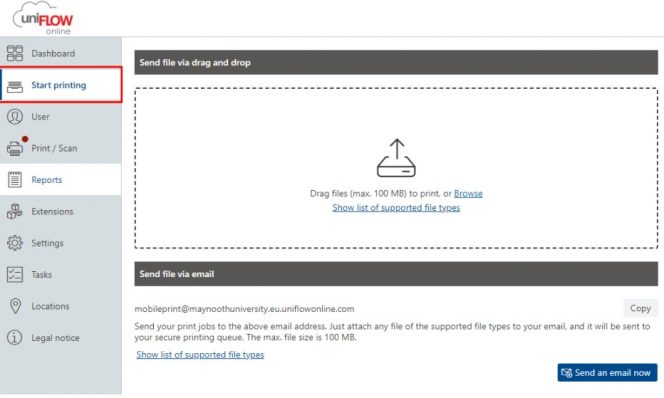
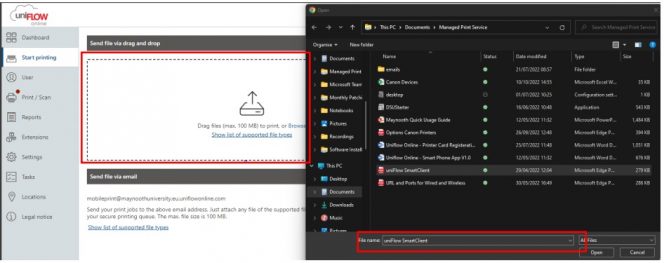
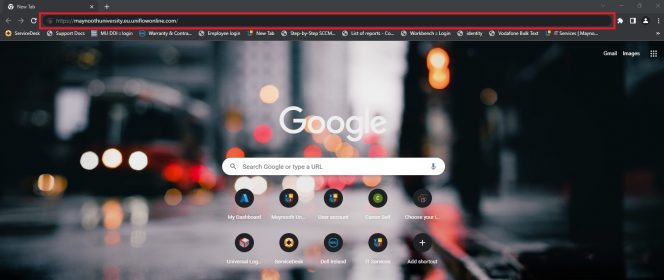
This feature allows user to print from uniflow online webpage.
- Click on “Continue with Maynooth SSO” – you may be prompted for your MU credentials.
- Click on Browse and choose your document or drag your document into the rectangle.
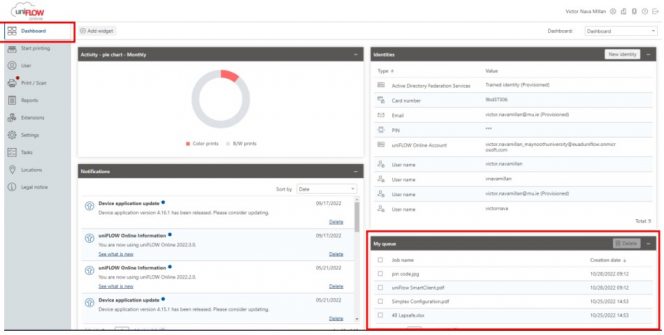
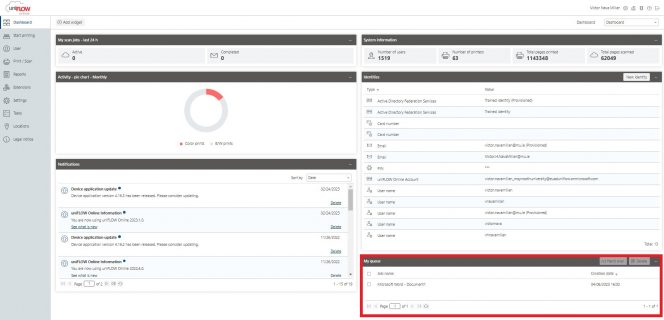
- You can check “My queue” on Dashboard, there you can see all your print jobs pending.
- Finally, release your print job using your staff card or PIN, from your chosen MU Print System printer.
This option is available for all staff, non-MU devices and occasional staff.
Prerequisites:
Smartphone/tablet Android version 9+ or iOS version 13+ and 50mb of free space on the device
MFA already setup
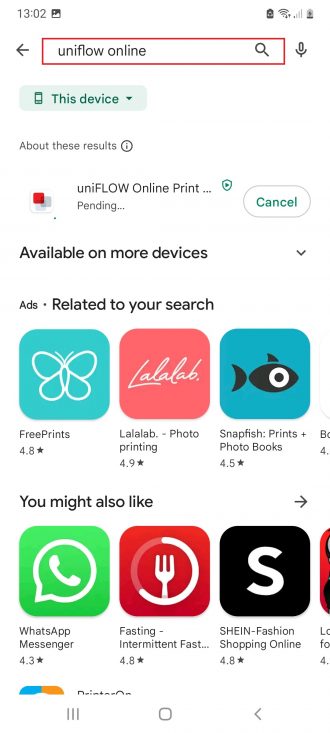
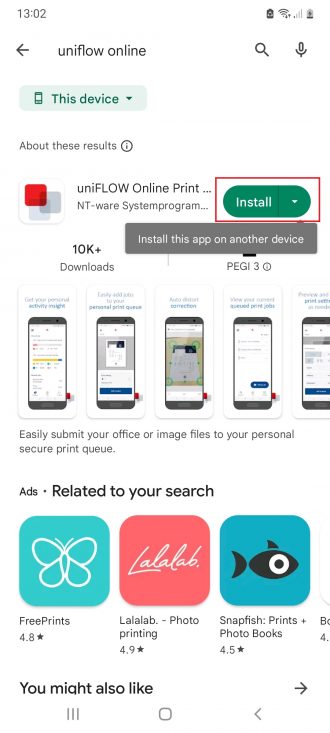
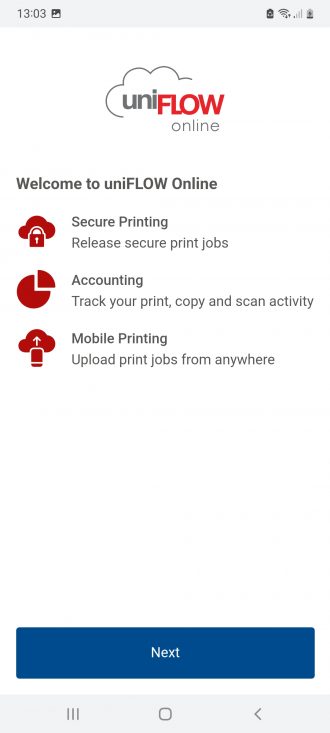
- Go to the PlayStore or AppStore on the smartphone and search for "uniflow online".
- Install the app and open the uniFlow client.
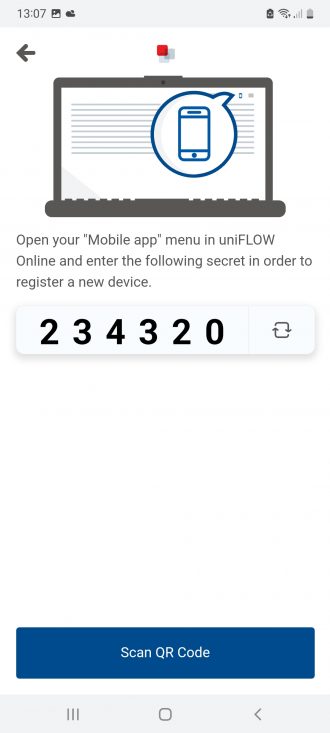
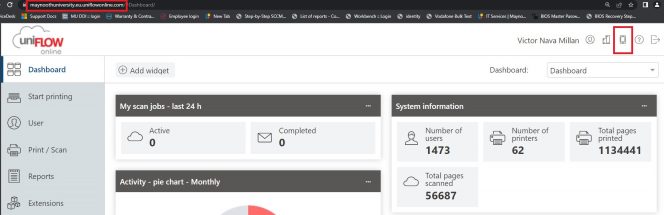
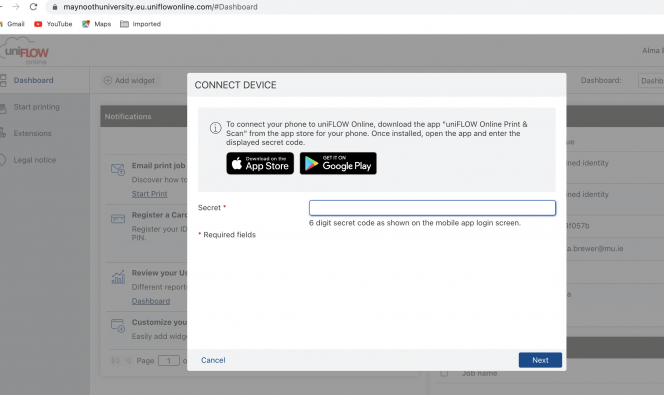
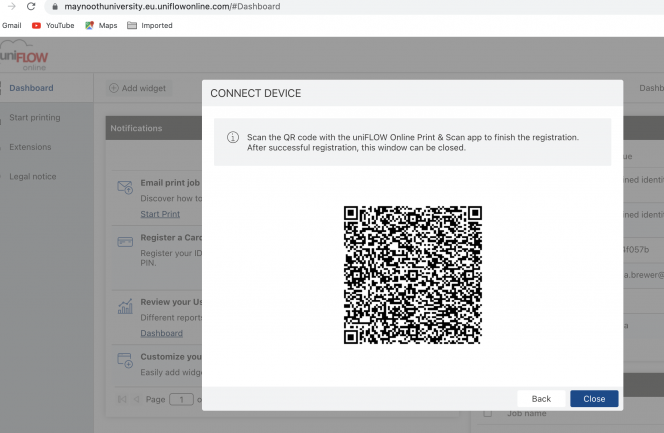
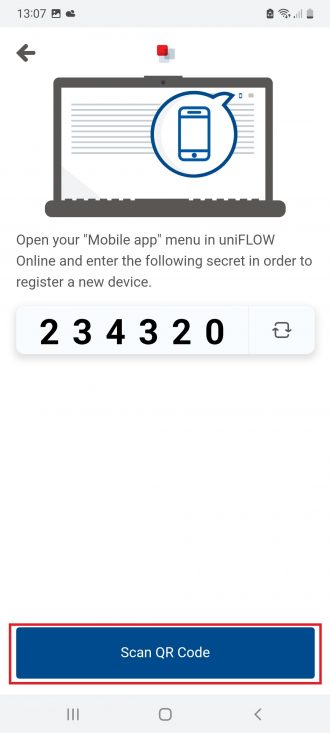
- The smartphone will show a code in order to register the device.
- Type the code as shown on the mobile app and click on next.
- Back to your mobile, tap on scan QR.
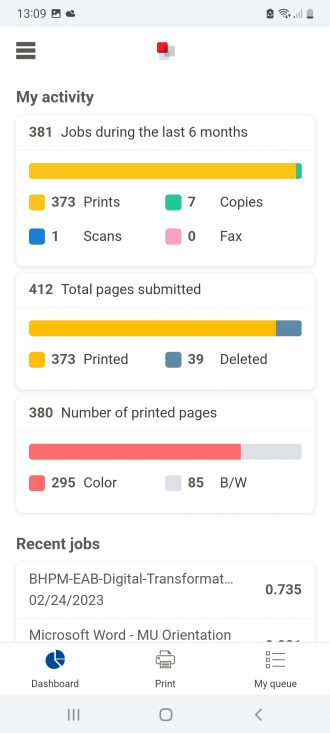
- After you have scanned the QR code, the app will show your dashboard.
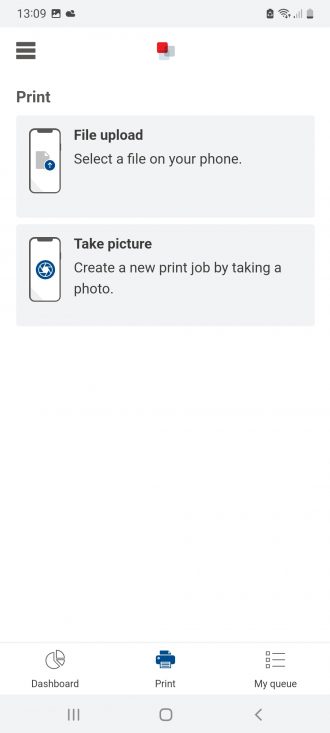
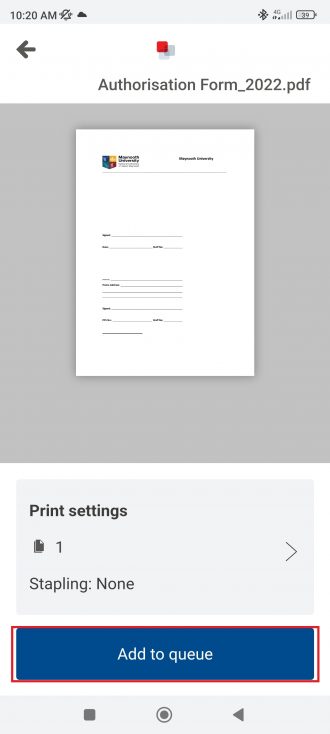
- You can send print jobs from the smartphone. To do this, Click on Print button, "File upload" will allow you to select the file on your device to print and "take picture" will open the camera to shoot a picture.
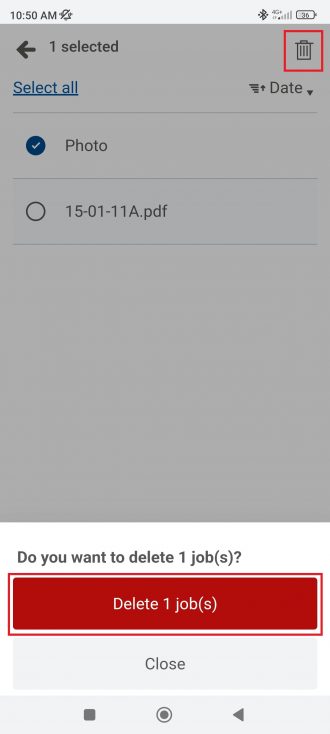
- You can delete print jobs from "my queue". To do this, tap on "my queue" button and select the job(s) you want to delete then tap on the bin icon or swipe from left to right on the print job to delete. Then tap on delete.
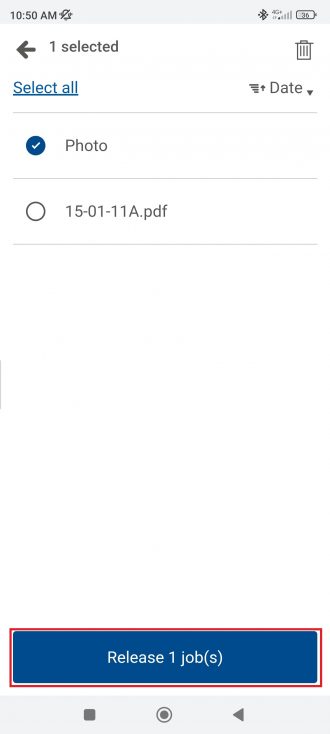
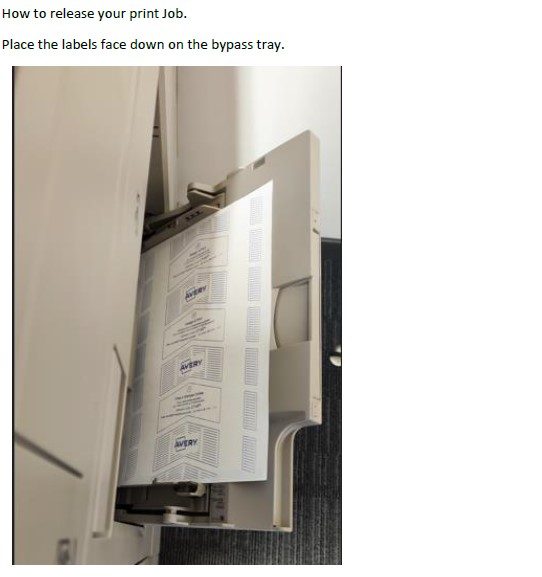
- How release your print job(s).
- Select the job(s) and tap on release job.
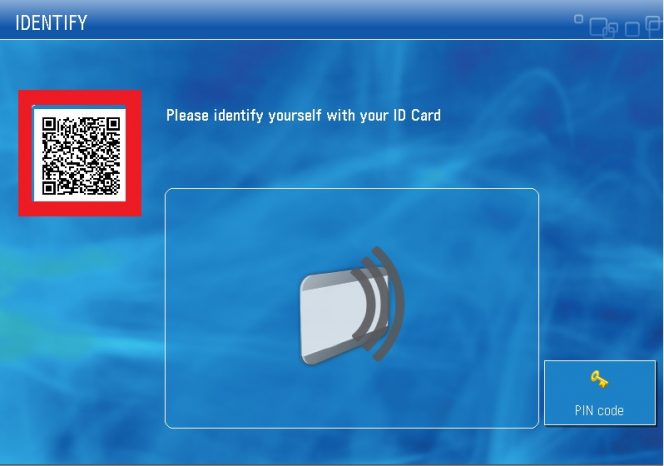
- The mobile will open the camera, then go to the printer with your smartphone and scan the QR code on the printer display "no need to swipe card or enter pin", The printer will process your job and print it.
This option is available for all staff, non-MU devices and occasional staff.
Contact us at [email protected], or 01 708 3830 if you need this option.
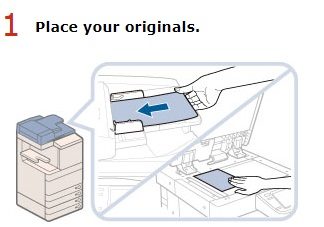
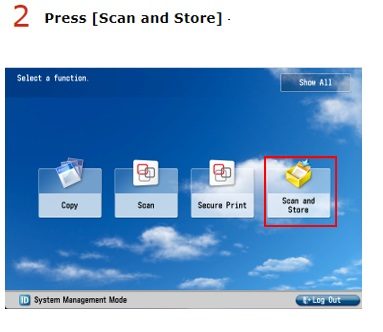
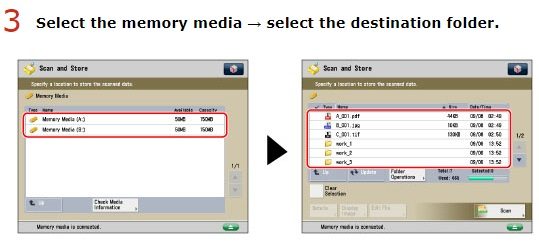
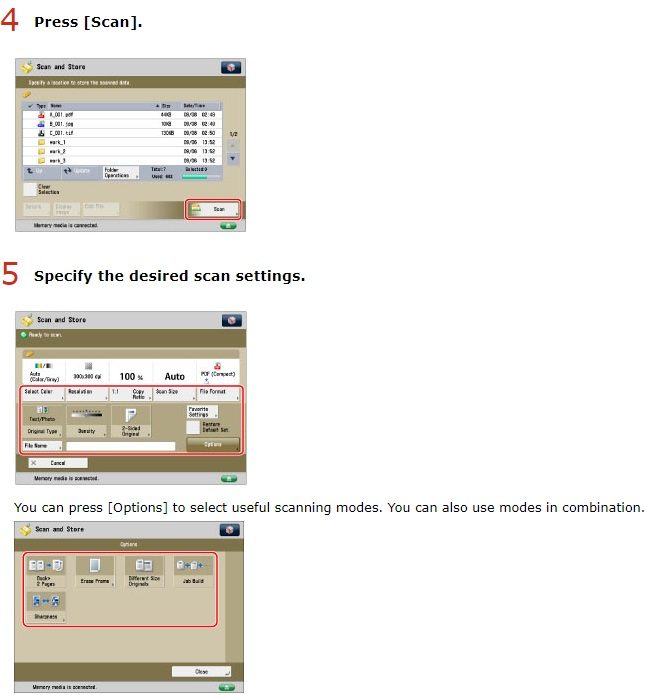
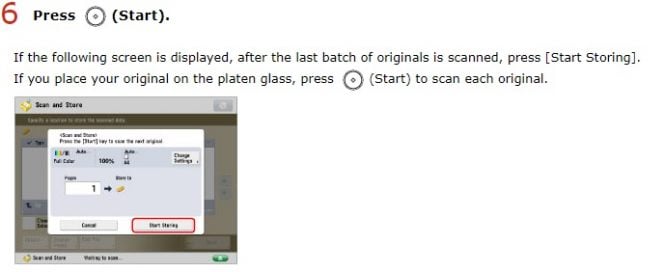
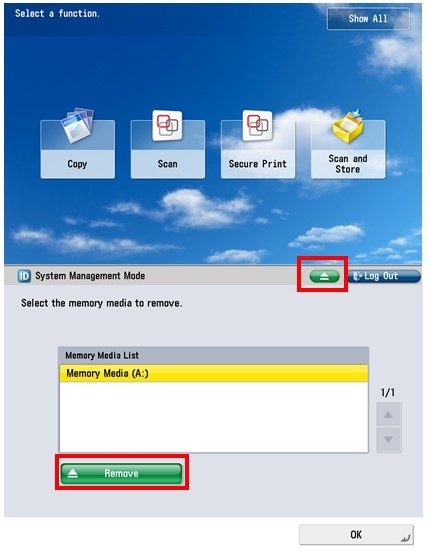
The explanation of the procedures assumes that the memory media is connected to the printer USB port.
Finally, eject the USB tapping the green button on the printer screen and on remove.
This option is available for all staff, non-MU devices and occasional staff.
Contact us at [email protected], or 01 708 3830 if you need this option.
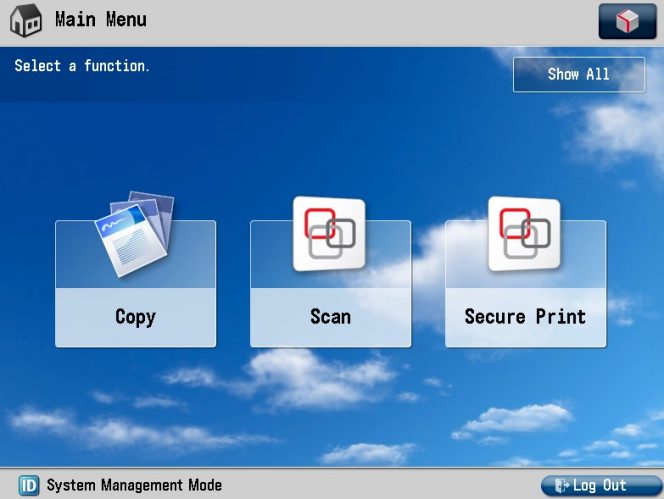
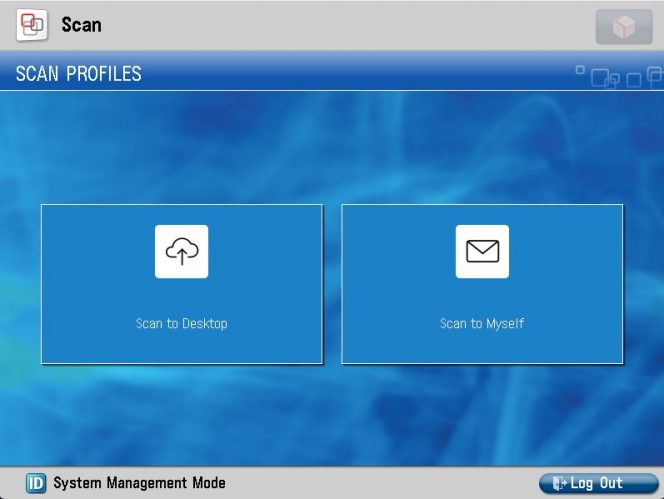
- Go to any Canon Uniflow printer and swipe your Card / ID or use your PIN number to log in. Then tap Scan.
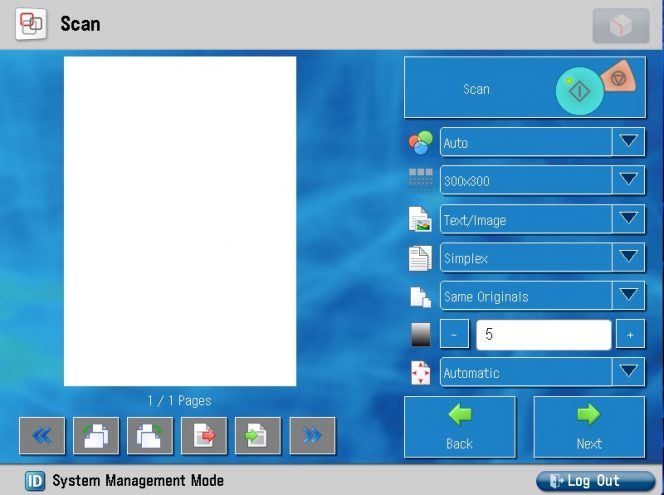
- Scan your document and when finished tap next.
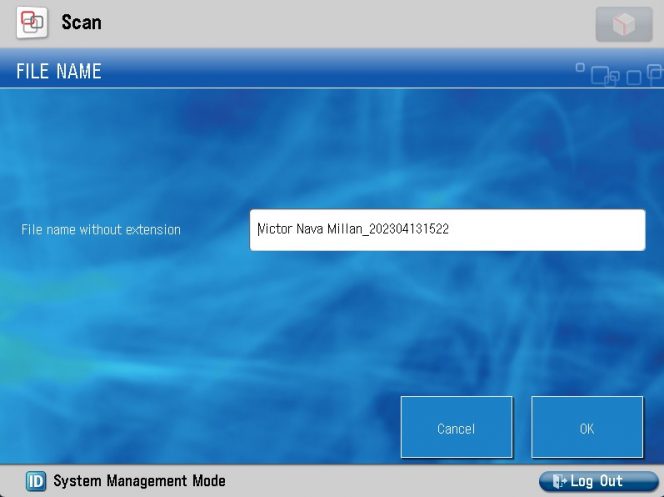
- The system will generate a consecutive name for your scanned document, but you can change it by clicking on the text box and then tap OK.
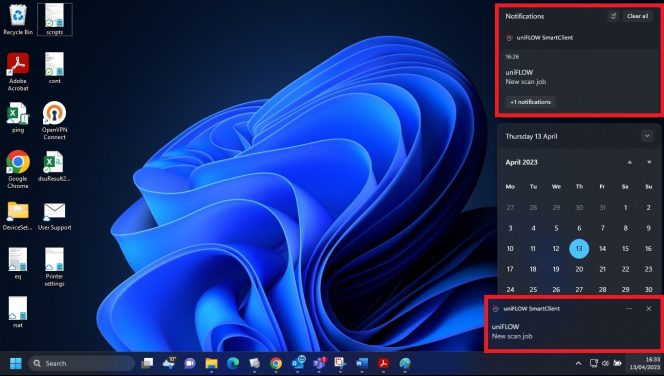
- Your computer will get a notification "uniFlow New scan job".
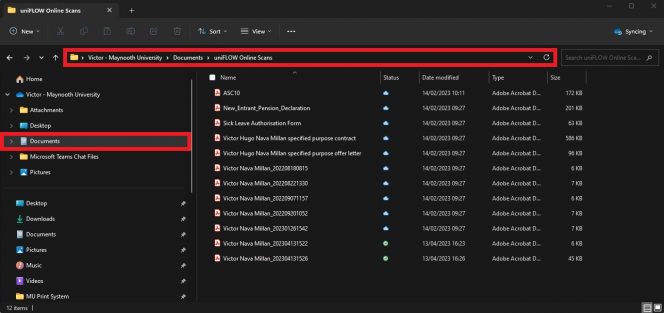
- Finally, you can open your scanned document by clicking the notification or the location path "Documents\uniFLOW Online Scans".
This option is available for all staff, non-MU devices and occasional staff.
This feature allows the user to delegate jobs to another user from the uniflow-online webpage.
- Locate the section of my queue, this is in the lower right corner.
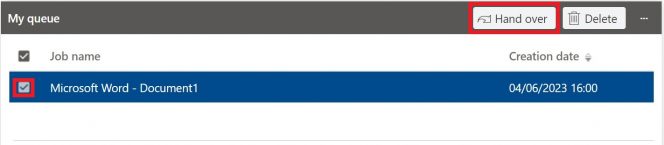
- Select the print job you want to delegate and click on "hand over".
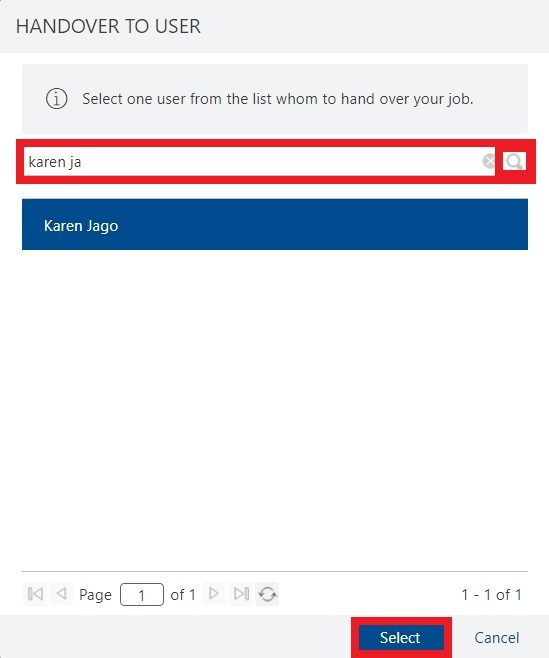
- On the next screen type the name of the delegated person and click on magnifying glass to search, then click on the user name and select.
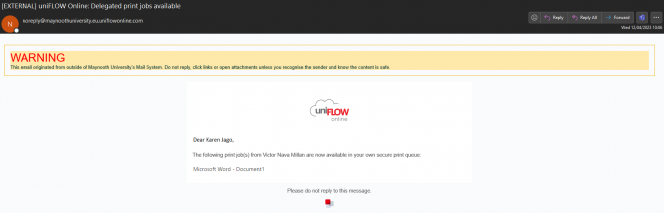
- The print job will disappear from your queue and be added to the queue of the delegated user, and the user will receive an email notification.
- Finally, the delegated user can release the print job using staff card or PIN, from your chosen MU Print System printer.
- Post Room, Ground Floor, John Hume
- Admissions Office, Ground Floor, Humanity House
- Central Records Office, Exams Office, Humanity House
- History, Hallway, 2nd Floor, Rhetoric House
- International Office, Hallway, 2nd Floor Humanity House
- President’s Office, Reception, TSI Building
- Deans Office First Floor, Room 115, Callan Building
- Economics, 2nd Floor, Rhetoric House Building
- Graduate Studies, Hallway, 3rd Floor John Hume Building
- Icarus, 2nd Floor Laraghbryan Building
- Centre for Teaching and Learning, Hallway, First Floor, School of Education.
- Applied Social Studies, Basement, Auxilia Building
- Student Services, Photocopy room outside of Reception, Student Services Building
- Anthropology, First Floor, Rowan House
- English Department, Ground Floor, Iontas Building
- Electronic Engineering, First Floor, Engineering Building
- International Development Studies, 2nd Floor, BlockD, Education House Building
- Campus Planning and Development, First Floor, Education House
- Chemistry Department, Hallway, First Floor, Science Building
- Education Department, Hallway, First Floor, School of Education Building
- Sociology, 2nd Floor, TSI Building
- School of Business, 3rd Floor, TSI Building
- Campus and Commercial Services, Basement, School of Education Building
- Froebel, Hallway, 3rd Floor, School of Education Building
- Dean of Teaching and Learning, Ground Floor, Rowan House
- Geography, Hallway, First Floor, Rhetoric House Building
- Clubs and Societies Office, First Floor, Rye Hall Building
- Psychology, Meeting room/Cantine, 2nd Floor, John Hume Building
- Conference and Accommodation, Ground Floor, Humanity House
- Design Innovations, First Floor, Auxilia Building
- Strategy and Quality, Room 70, Rhetoric Annex Building
- Access Office, Reception area, Map Lodge Building
- School of Languages, Room2, Arts Building
- School of Languages, Ground Floor, Rye Hall Building Block D
- Library, Back Office, Ground Floor, John Paul II Library
- Library, Hallway, Ground Floor, Russell Library
- School of Law and Criminology, Hallway, Second Floor New House Building
- Bursars Office, Meeting room/Cantine, Rye Hall Extension Building
- IT Department, Ground Floor, Stock room, Eolas Building
- Sports, Room 132, Ground Floor, Callan Building
- Accounts Office, Meeting room/Cantine, Ground floor, Rye Building
- School of Languages Modern, Rye Hall Block D Building
- Music Department, First Floor, Logic House Building
- IVI, Hallway, 2nd Floor, Eolas Building
- Students Residence Office, Ground Floor, Courtyard Apartments
- Computer Science, First Floor, Eolas Building
- Development and Alumni Relations, First Floor, Riverstown Lodge
- External Relations Office, Hallway, Ground Floor, Riverstown Annexe
- Campus Services, Hallway, Ground Floor, Lyreen Building
- Larionad na Gaeile, Arts Building
- Hamilton Institute, Hallway, 3rd Floor Eolas Building
- MU Social Sciences Institute, 2nd Floor Iontas Building
- School of Law and Criminology, Ground Floor Rivertown Lodge
- School of Law and Criminology, Hallway, First Floor Rivertown Lodge
- Campus Services/Post Room, In front of room 9, Arts Building
- HR, Ground Floor, Rivertown Lodge Building
- Modern Languages, Assistant office, Ground Floor, Rye Hall Building
- Adult and Community Education, First Floor, School of Education, Building
Contact IT Services Service Desk if you have any card/PIN related query, if you wish to add or remove a user or if you require support with the client installation.
Contact Canon Support directly for any device or printing issues, i.e. device is not printing, blurry or poor quality print jobs, paper jams, issue with the device stapler, scanner issues, etc. To contact Canon Support, refer to the label on the top of the device or alternatively call 01 605 0320 or email [email protected] with the device serial number, the location of the device and your office location, a contact number, a description of the issue or fault and include an image, if available.